While one of the major perks of my job is getting to travel this wonderful world, I only sometimes have the time to get away to the destination. Still, I am fortunate to be invited to many tourism events that expose me to the destination and its culture. I recently had the opportunity to attend an event hosted by The Uruguay Tourism Board. Uruguay Unveiled was held in Brooklyn, New York, at the restuarant Tabare Bushwick. Tabare is an indigenous name that means “someone who lives far from town.” The restuarant, I hear from the locals I met, is a hot spot for entertainment. We enjoyed a full fare of their traditional Uruguayan cuisine throughout the presentation.
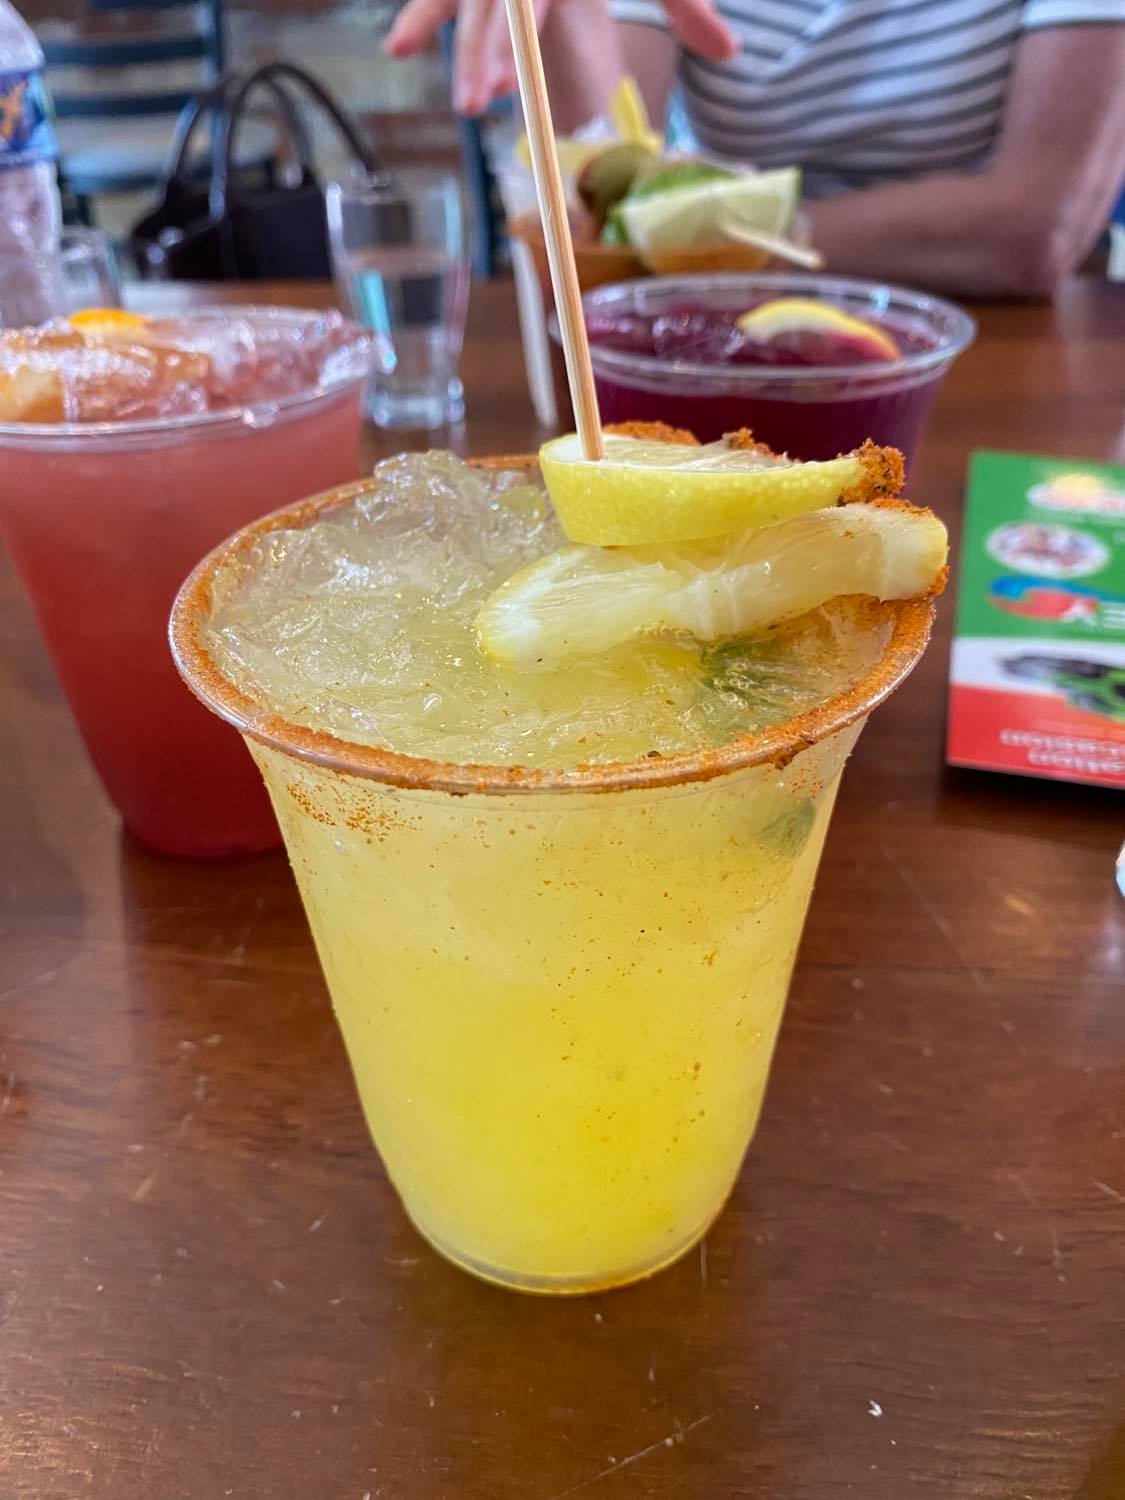
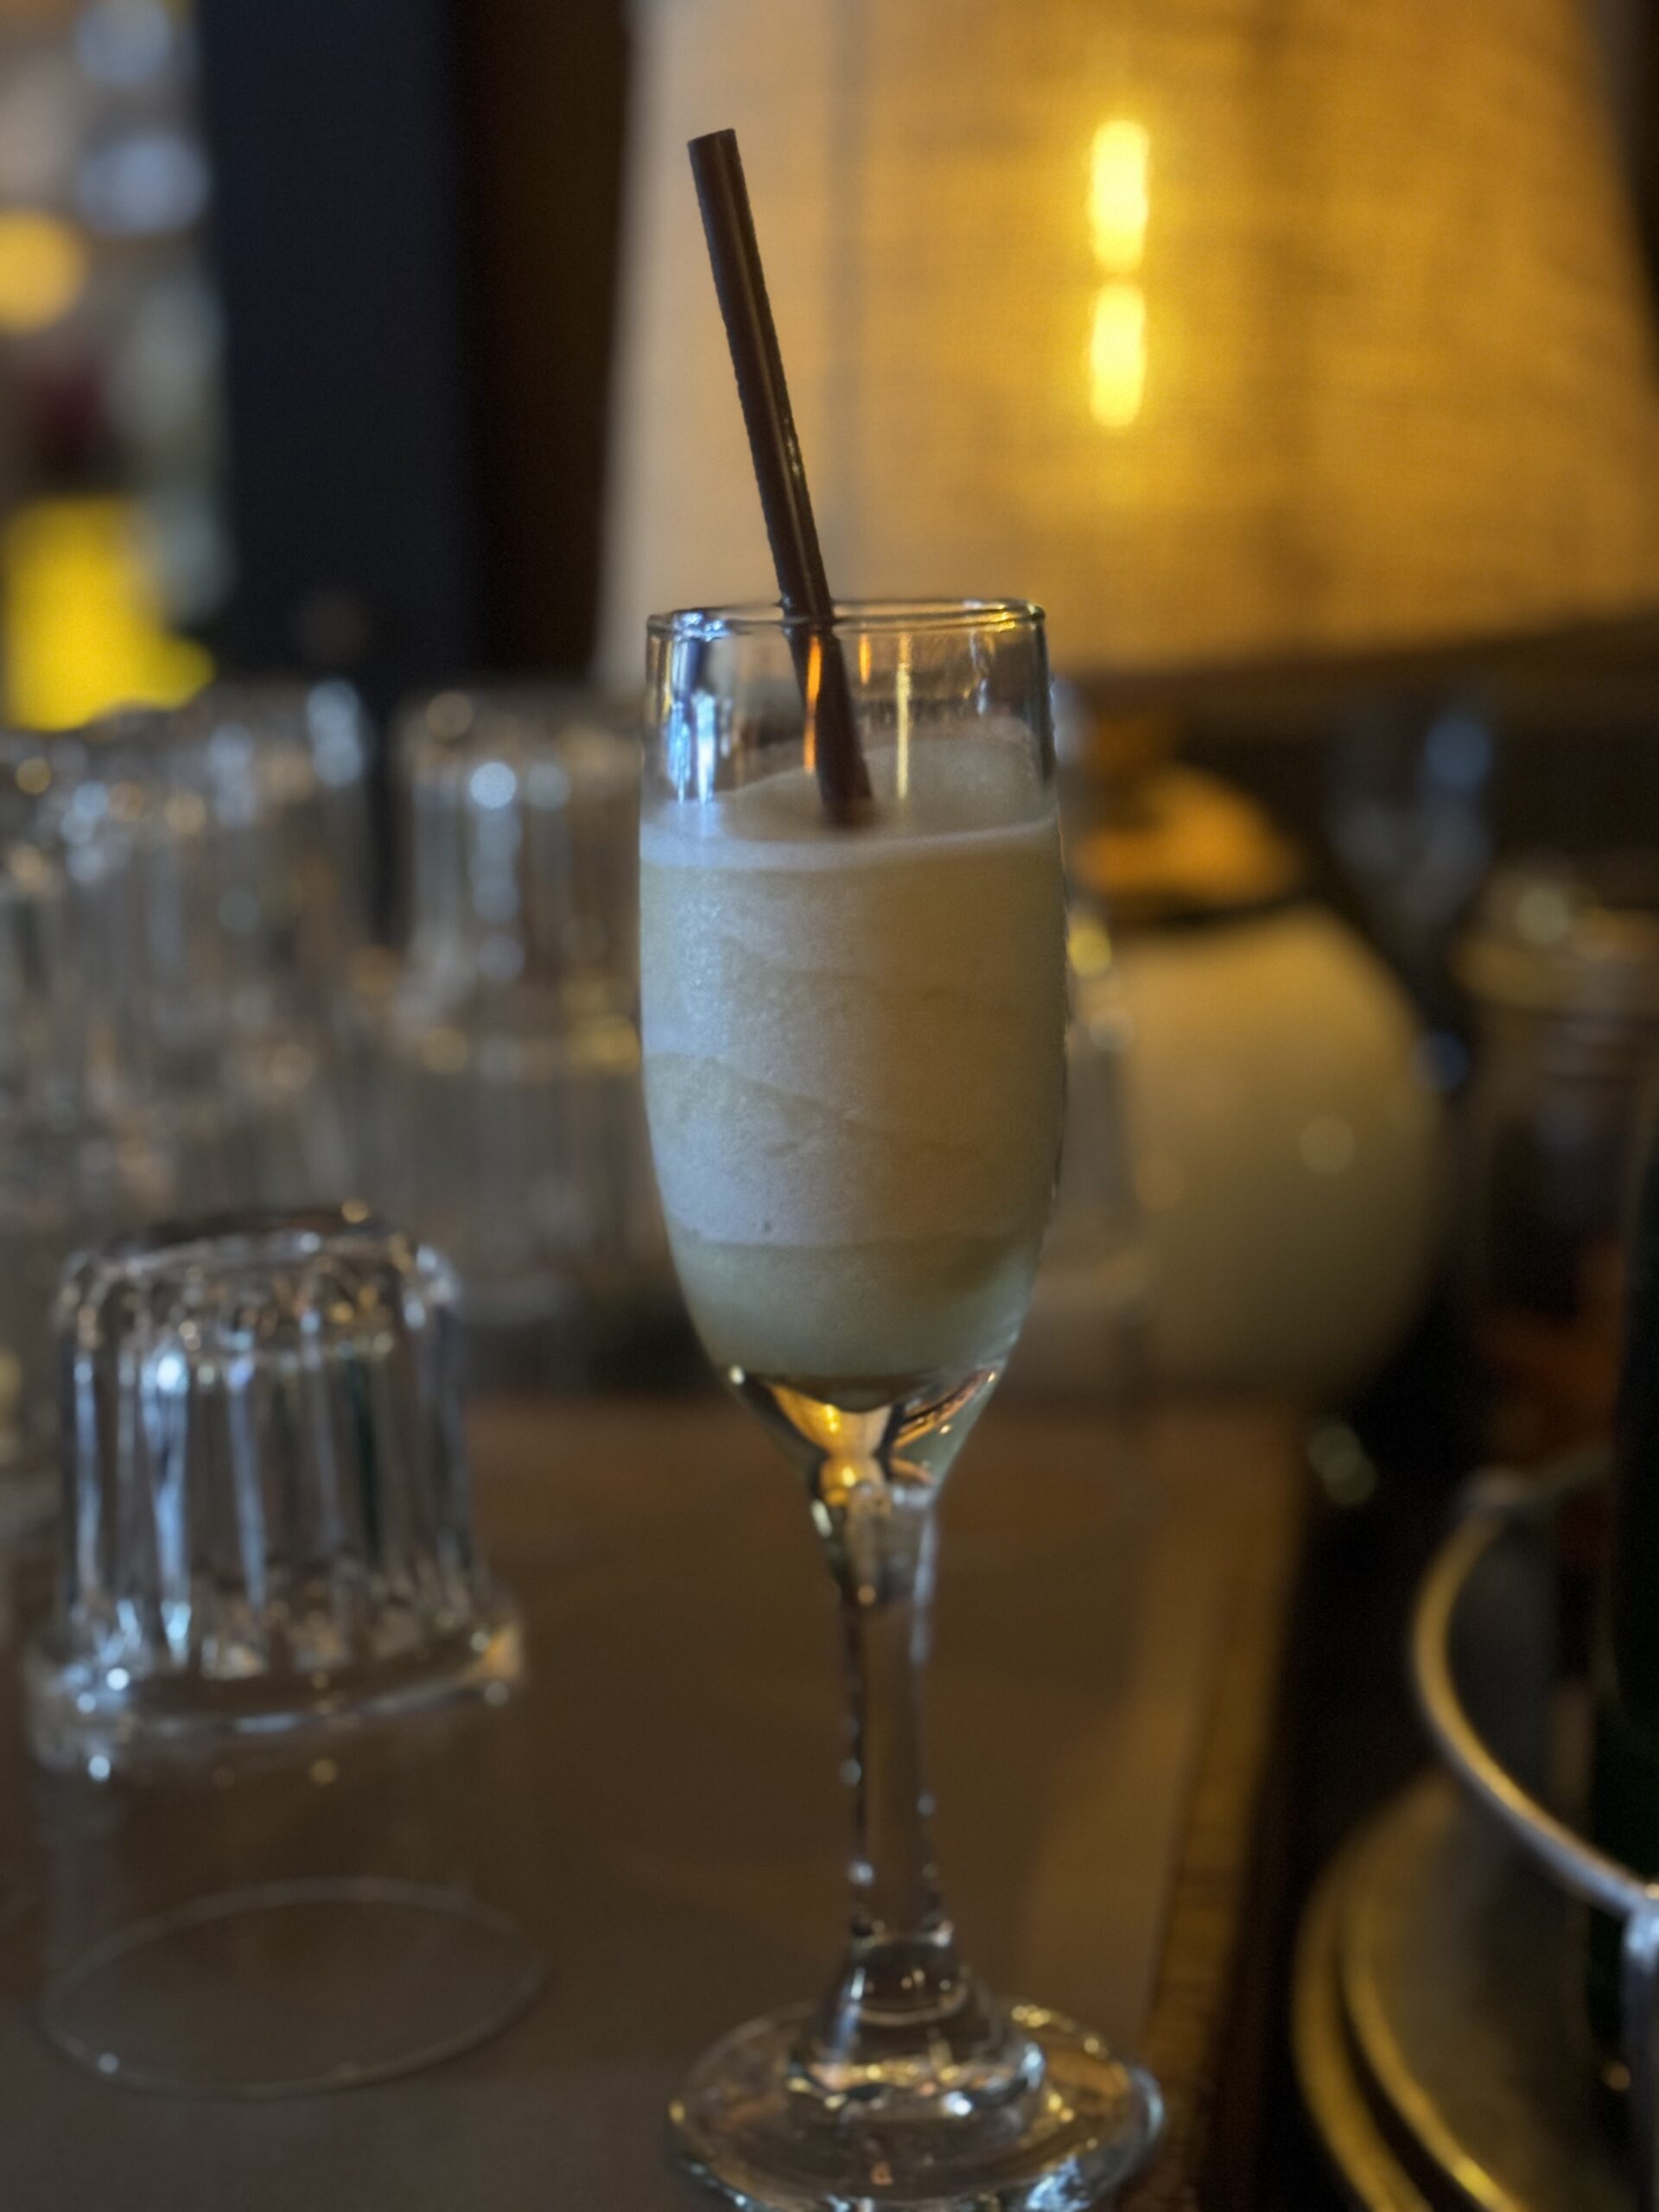
One of the items we were greeted with was the Frozen Gaucho.
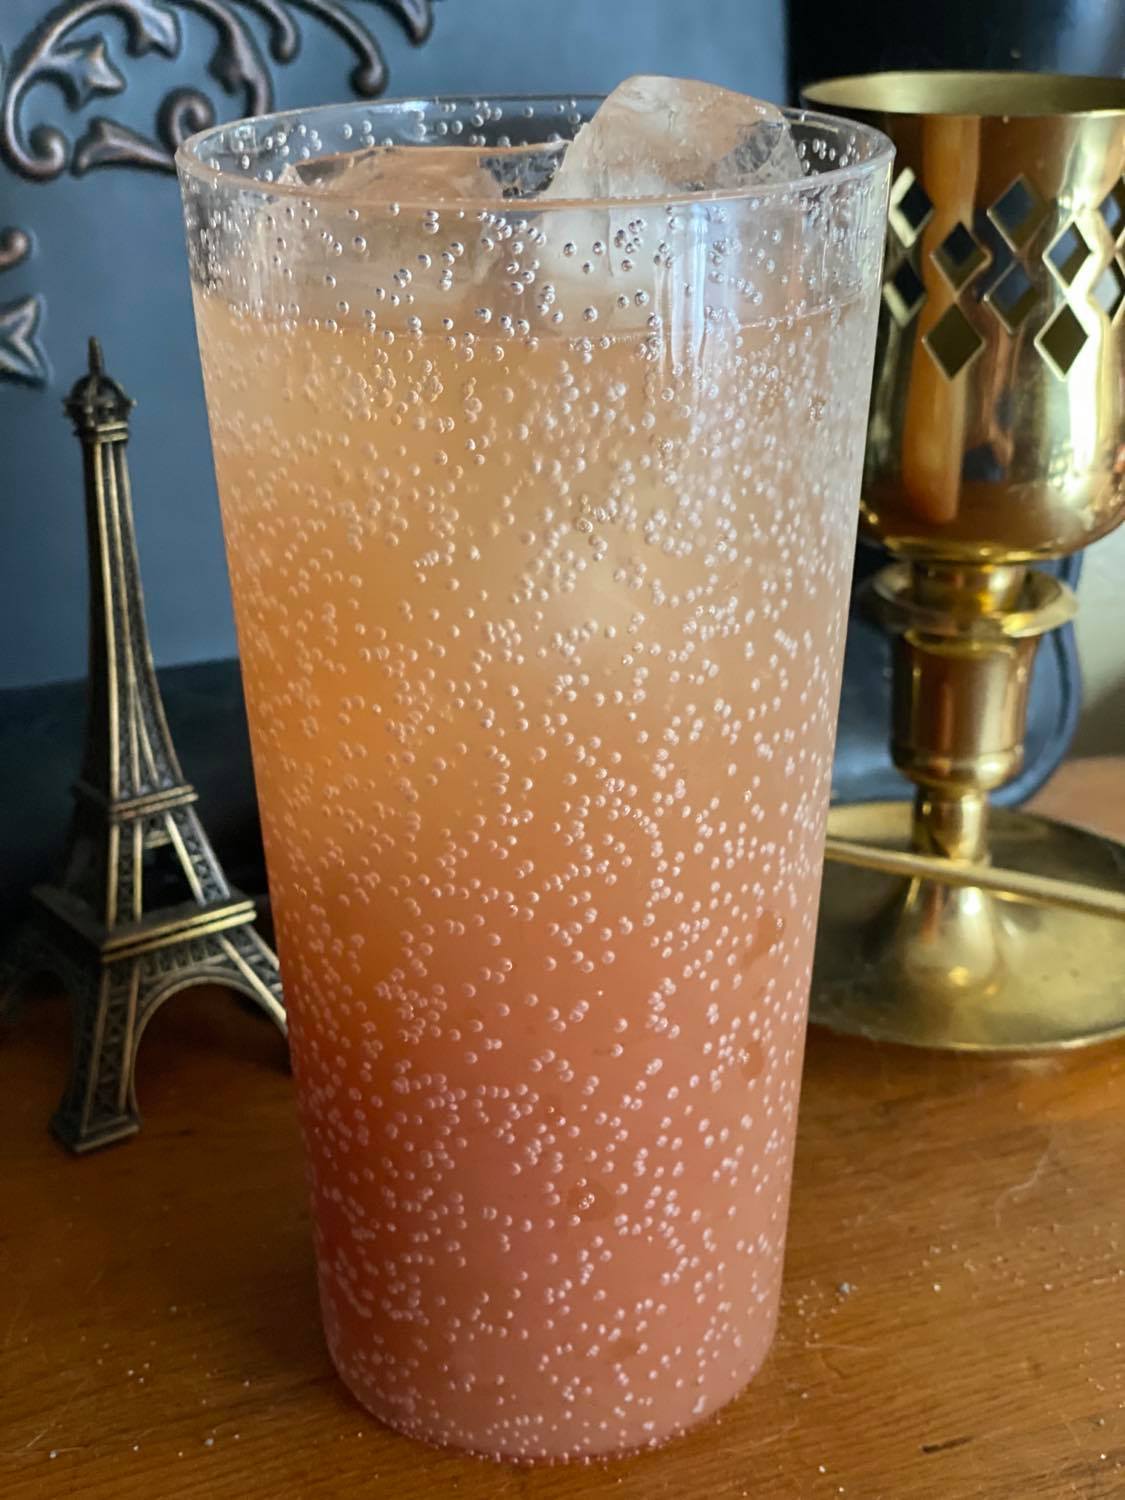
Frozen Gaucho is a cocktail that stands out in Uruguay’s diverse drink landscape, blending local ingredients and flavors. While it may not be as widely recognized as some traditional Uruguayan drinks like Medio y Medio (a mix of dry white wine and sweet sparkling wine) or Clerico (a fruit and wine punch), the Frozen Gaucho has gained attention for its refreshing qualities, making it a favorite during the hot summer months. It was the perfect choice given the heat of that evening and the crowd for the event.
The recipe for a Frozen Gaucho typically includes ingredients like pineapple juice, coconut cream, and lime juice, similar to those used in other tropical cocktails. The drink can be compared to variations of the piña colada or other frozen cocktails that mix fruit juices with spirits and ice, creating a smooth, icy beverage perfect for cooling down.
If you’re looking to try this cocktail at home, according to their menu, this drink was a combination of:
- Yerba Mate Vodka (Yerba Mate is an herb usually drunk like hot tea, but is making a rise in appearance in cocktails)
- Limon
- Agave
- Ice
These ingredients were blended until smooth and served in a chilled glass. Ours was served in a flute style and garnished with a cinnamon stick. You could also add a garnish, like a lime wheel or pineapple slice, to give it a festive touch.
Overall, the Frozen Gaucho embodies the spirit of Uruguay’s vibrant cocktail culture, offering a delightful and cooling experience with each sip. And the event and ambiance of Tabare left me wanting to return and plan an escape to this beautiful country.
Lisa Rossmeissl is the owner of Boomerang Escapes, a home-based agency located in Old Bridge, New Jersey with agents in TN, MS, and WI.
She has been a professional travel consultant since 2008 and specializes in Australia and the South Pacific. Australia, New Zealand, Tahiti, Fiji, and Cook Islands are among the specialist certificates she holds. Her agency’s focus is on creating custom itineraries with their client’s wants, desires, and budgets in mind. She and her planners believe in getting to know the traveler to ensure they have a vacation to remember. With each planner specializing in a different market area, Boomerang Escapes can offer a wide variety of leisure vacation planning.